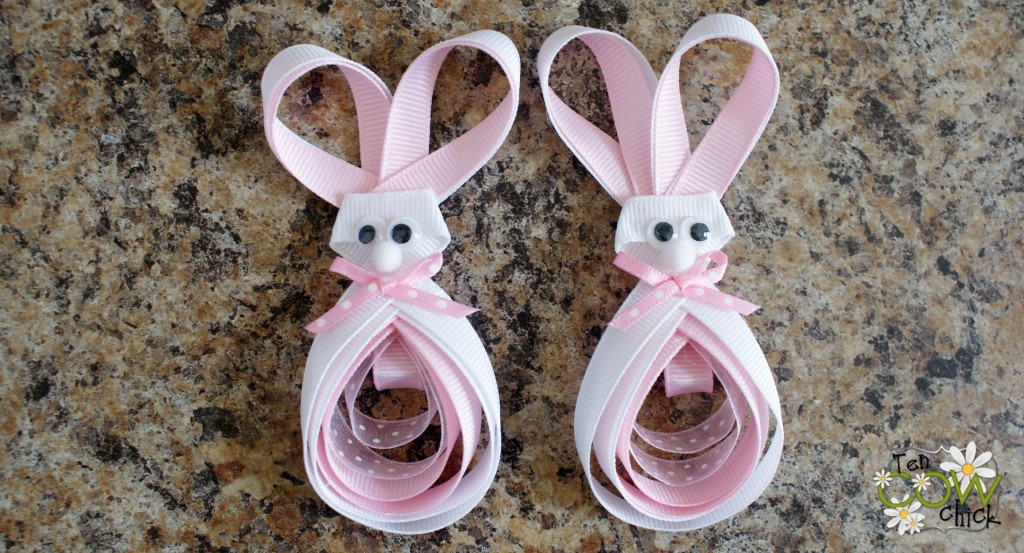
 I’m soo excited to share my bunny bows with you! They’re soo springy and cute! Do you want to make some for your little girls? Let me show you how!
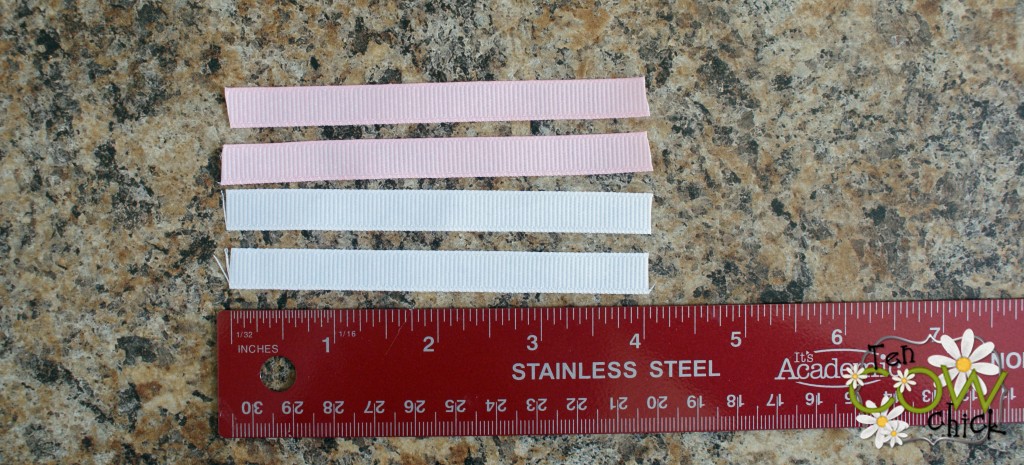
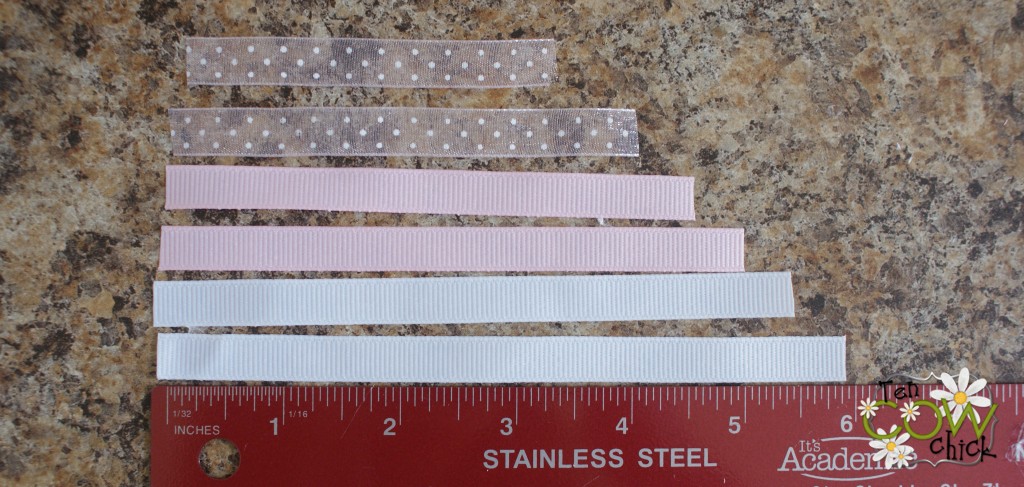
Lets start with the ears. Your going to want to cut four pieces of ribbon four inches long. Two white for the outside of the ear and two pink for the inside.
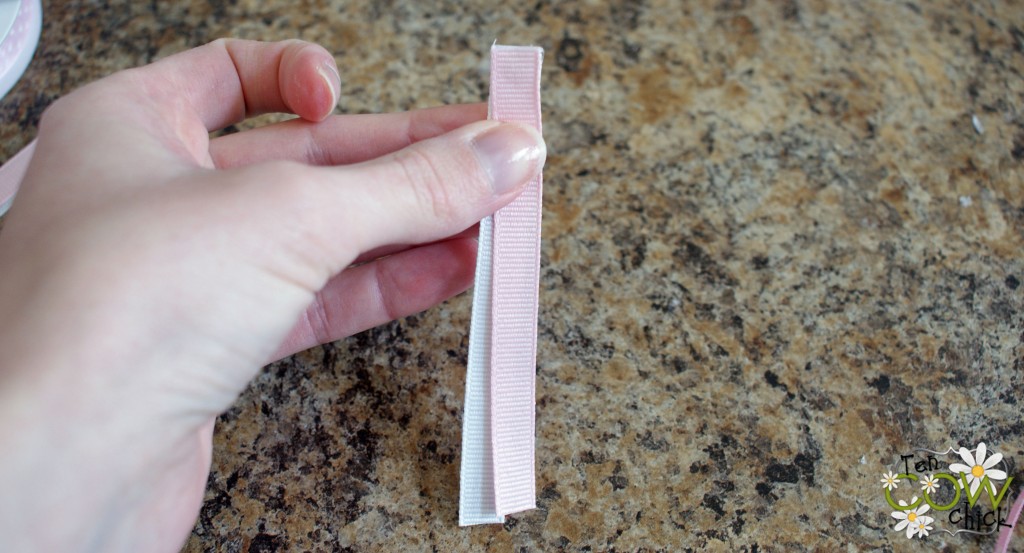
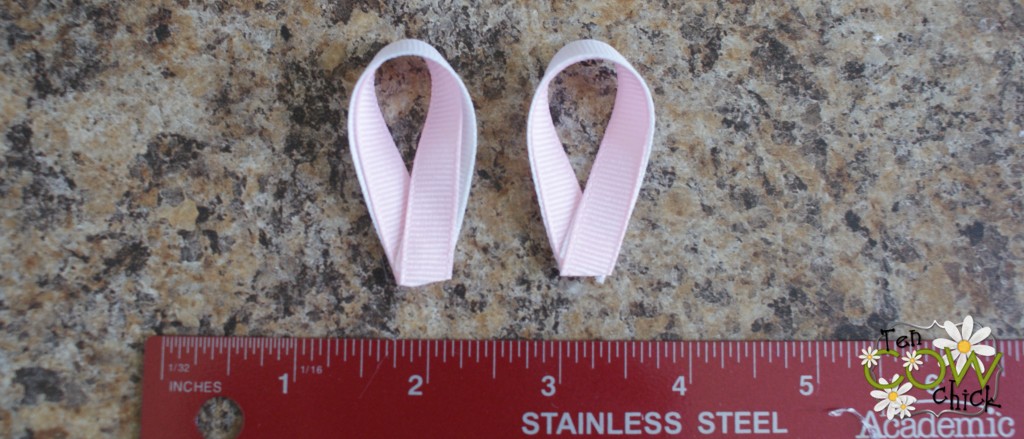
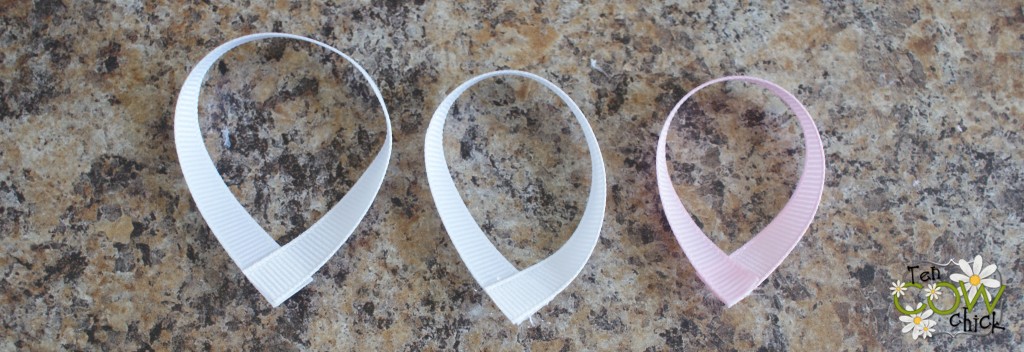
Alright, so here is the only slightly tricky part of this whole thing. Your going to hot glue one end of a white and pink ribbon together and then loop it around before you hot glue the other end. The pink will slide out an eighth or a fourth of an inch because it’s on the inside. Glue the ribbon ends together so they make ear looking loops.
Like so.
Next we’re going to make the bunny belly. Cut six pieces of ribbon, one of each of these measurements: 6 inches, 5.5 inches, 5 inches, 4.5 inches, 4 inches and 3.5 inches. If you don’t want to make such a full looking belly you could just do three pieces of ribbon, one 3.5, 4.5 and 5.5.
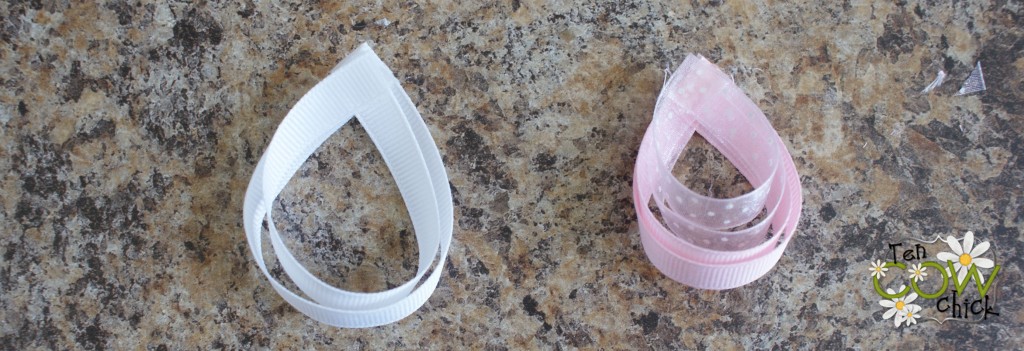
Loop your ribbons around and hot glue them at a right angle on the end of each other. Does that make sense? Just look at the picture you’ll see what I mean.
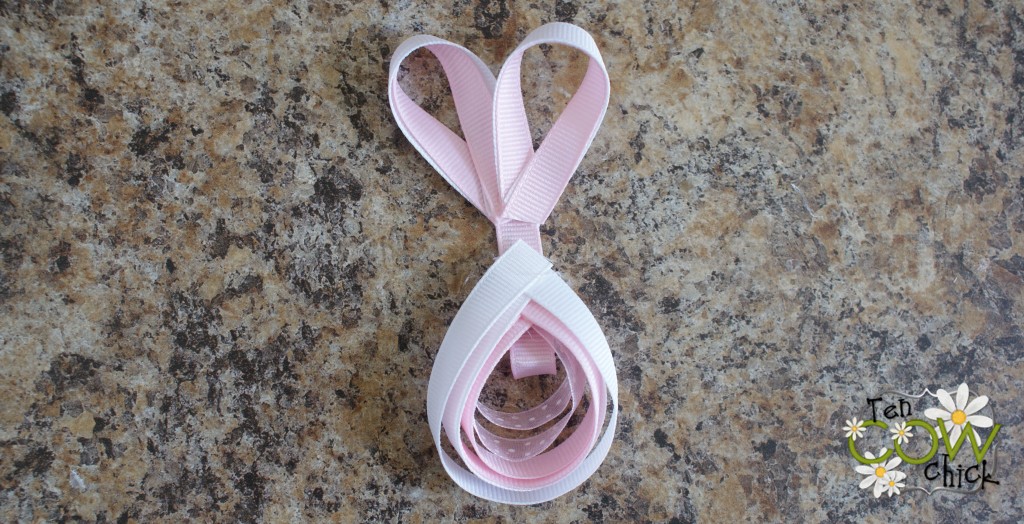
Start stacking and hot gluing the layers together where the ribbon came together at a point.
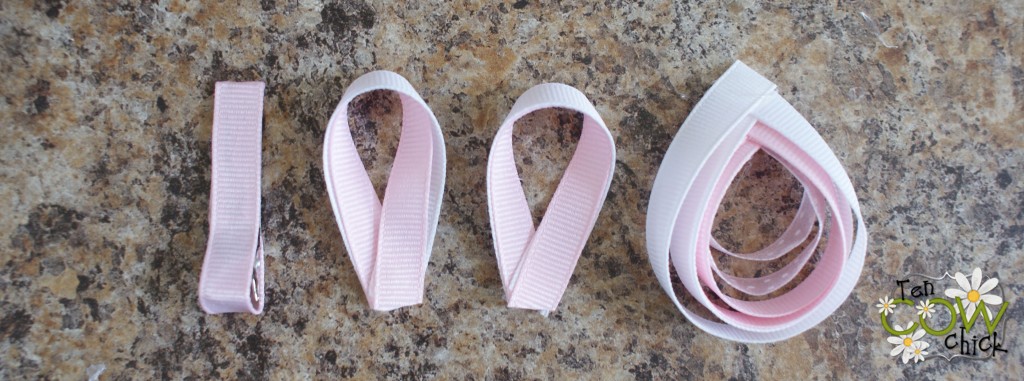
Take a hair clippy and line it with ribbon. Now we are ready to assemble our bunny.
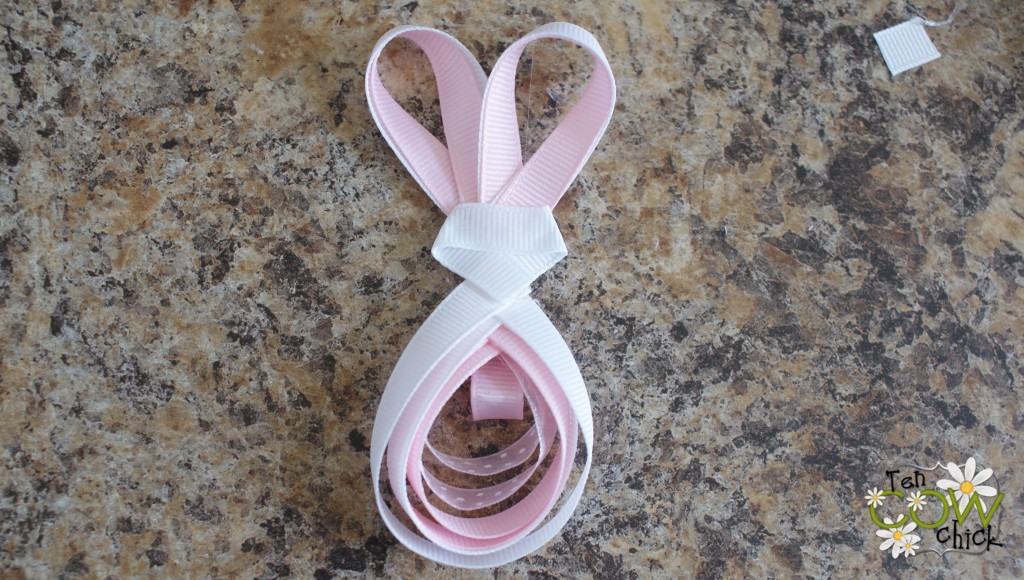
Overlap the ears and glue them together and then glue them to the clip. Glue the belly about a fourth inch underneath the ears.
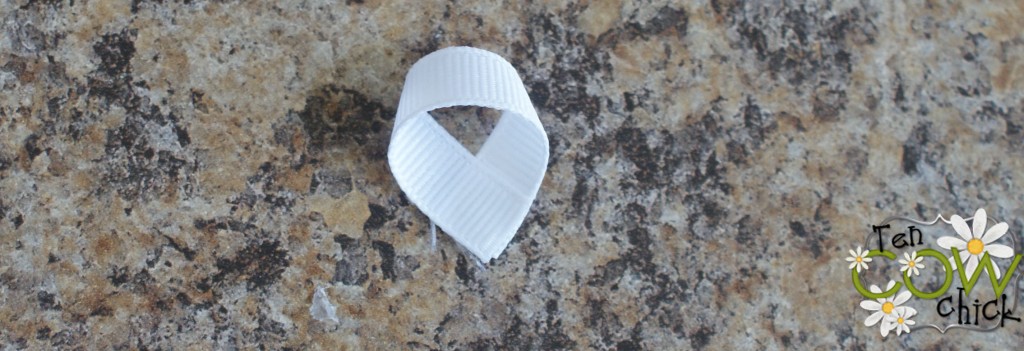
The last step is to make the face. Take a 2.5 inch piece of white ribbon and loop it around and glue the ends together.
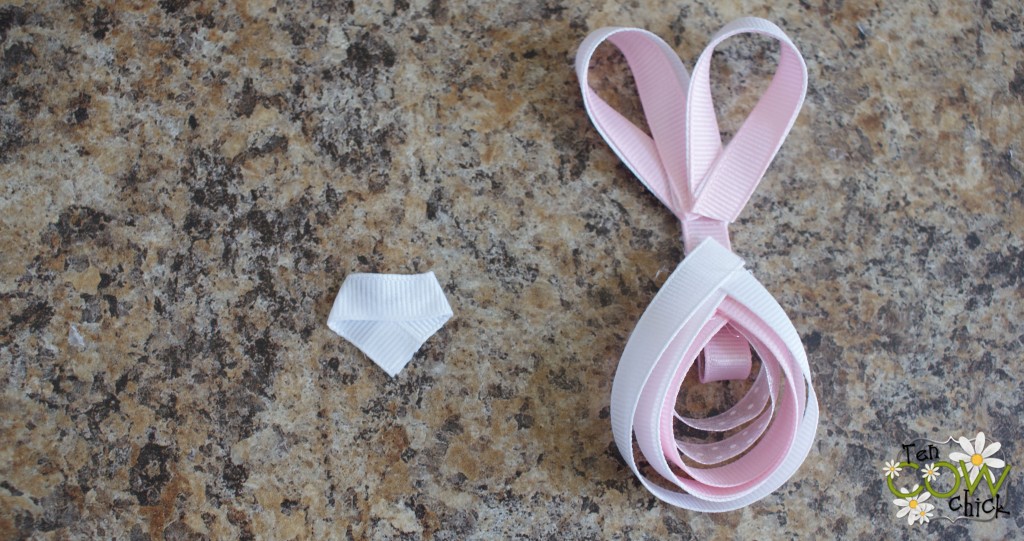
Take your little white loop and mash it down and crease it with your fingers. Take your hot glue gun and squirt a little glue in the corners where it overlaps on itself.
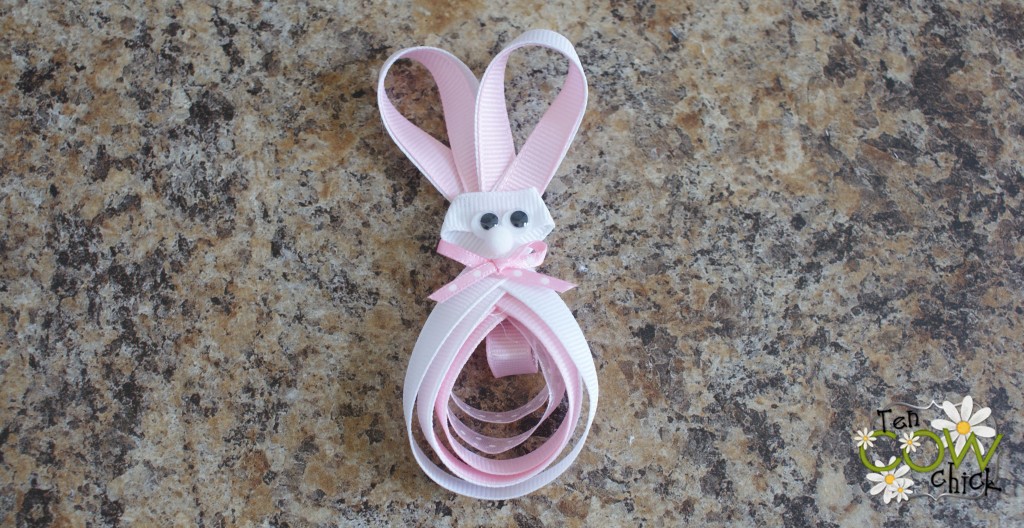
Line up the triangle on your bunny face with the triangle on the body and glue it down. Add googly eyes, a mini pom-pom nose and make a little bow tie. And you are all done!
Aww, what a cute widdle bunny wabbit! Inspiration for these came from this etsy shop.
Hoppy bow making to ya! (Sorry I had to say it.)
*If you want to make these a little smaller then cut the ears at 3.5″ and the body at 3″, 4″ and 5″.

Those are so cute!
These are very cute, I hope your girls love them!
Those are so dang cute. Thanks for sharing them!
LOVE them!! can’t wait to try to make these for my girls!
LOVE it…
So adorable! I definitely need to make these for my little girl this year. Thanks for the tutorial!
I am bow crazy! Love these! Thanks
love them so cute!
How cute are these!!!!
Thank you so much for sharing your bows! I made the shamrock and I can’t wait to make the bunny!
Very Cute!!!!
I’d love it if you would link up over at the Glitter Party!!!
http://runwithglitter.blogspot.com/2011/03/weekly-tues-thurs-link-party.html
xoxo
Kelly
These are very cute…I´ll feature on my blog. Hope you don´t mind
hugs from Brazil
I love these ones!!!! I am featuring this at somedaycrafts.blogspot.com. Thanks for all you do!
Thank you so much for sharing this tute! I can’t wait to make these for my little girl!
These are so cute. I never really put bows in my girls hair until just resently. Is that sad. they are 4 and almost 2. I am a bad mom. Anyway I bought some piggy bows. but the bunny bows wow I really like these. Can’t wait to make. thanks for the tutorial.
I’m your newest follower! What a great craft idea! I love the idea of useful crafts that don’t clutter up the house but actually serve a purpose. These will definitely get used in our house! Thank you for sharing this project! 🙂 Heather at 500dollarwedding.blogspot.com
I love this! I will be featuring it next week for my Easter favorites! Thanks for the inspiration!
-Steph
What kind of clip/barrette do you use?
Hi Marlo, I use double metal pronged clips from Sally Beauty Supply. There is a picture of them and the box they come in in this post I did on Korker Bows. http://tencowchick.com/2010/08/10/korker-bows/
Let me know if you have any other questions!
Pingback: Strut Your Stuff Easter & Spring Blog Link Party - Somewhat Simple
Oh my this is so very cute!!!! So Happy I stumbled upon your Blog! ~
so cute *__* thank u for the great tutorial 😀
How creative.. your bows are so cute and gorgeous. Great..
Love these!! But have 3 little boys who are the light of my life but can’t wear hair bows!! I put a pin on the back and made pins for myself, my mom and grandma!! Also made the smaller version for my niece’s hair!!!
Hi Mariesa! I love your site! I am going to Wal-Mart today to buy more ribbons to make these precious bows for my granddaughter. I’ve seen the little blue crab clippee but have not found a tute on it… would you perhaps have one? Thanks for your tutorials!
Thanks Trena. I haven’t seen blue crab bows before, sound cute, I’ll have to google it!
These are adorable! I love them ALL! What width ribbon do you use for the bunnies & your other wonderful creations?
Thanks Shelly! I use 3/8 inch grosgrain ribbon. 🙂
exellent